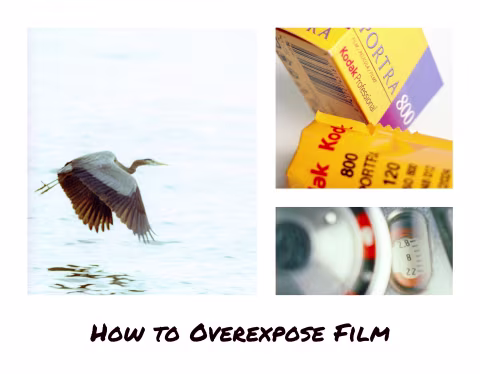
How to Overexpose Film
Pick the Right Film, Meter for (Over)Exposure, and Fix Colour Shifts
18 min read by Dmitri.Published on .
A “correct” exposure is the one you’ve conceptualized and got the camera to realize.
Many cameras will automate exposure, which would generally be good. They will use the middle grey measurements to match how the human eye sees the world.
But when an accurate depiction of reality is no longer enough, we can deliberately pick films and change our camera settings to alter it. This is when a “correct” exposure won’t match the default light meter settings. But in exchange for taking that risk, we get to see the world through film in a new way.
In this guide, I’ll talk about overexposure and how it applies to film photography. Once you’re done reading, you’ll understand exactly what overexposure is, why and when it may be appropriate, which films to overexpose, how to overexpose your photos without destroying them, and how to scan/edit overexposed frames.
In this guide: What is overexposure? How is overexposure different from push-processing? Why overexpose film? Overexposing film with manual cameras. Overexposing film with point-and-shoot and semi-auto cameras. Picking the right film for overexposure. Films that can handle overexposure exceptionally well. Making notes. Picking the right scene for overexposure. Overexposed film development. Highlight and shadow detail of overexposed film. Scanning overexposed film. Editing overexposed scans. Support this blog & get premium features with GOLD memberships!
What is overexposure?
“Overexposure” is a term that gets thrown around a lot, especially in the film photographer circles. But despite its commonality, it’s still sometimes misunderstood.
Overexposure means exposing film to more light than directed by the metering and development.
Let’s break that down:
More light than directed. Exposure can be measured with a light meter (whether external or the one built into your camera), and it can also be estimated just by looking at the scene. Assuming those measurements are correct, exposing film to more light is usually achieved by slowing down the shutter speed or opening up the aperture by one or more stops.
For example, if the light meter says that the camera settings for Kodak Portra 800 (an ISO 800 film) are 𝒇16 (aperture) and 1/1000 (shutter speed), we can overexpose it by one stop by changing the aperture¹ from 𝒇16 to 𝒇11 — or — the shutter speed from 1/1000th to 1/500th of a second.

Interpretative metering. Despite being measurable, exposure is interpretative. The light meter will give different measurements depending on where we point it, and the same scene can be metered in various ways. We can point the light meter to the shadows, and it will give us values that lighten up the image as it tries to make the shadow light appear neutral (middle grey); we can also dial in exposure compensation for backlit scenes and make other choices that would change the exposure.
However, I don’t refer to the above techniques as overexposure or underexposure. Instead, they are adjustments to create an exposure that matches our expectations of what should be dark or bright. For example, if we’re shooting a subject against a bright light, exposure compensation adjustments (such as adding one or more stops of light) would not be considered overexposure. Overexposure would mean adding more light on top of the compensated exposure settings.
Development. Typically, this means developing film normally, without making any changes during the process. If you’ve overexposed your film and intend to keep it overexposed, your lab does not need any special instructions. If you develop your film at home, process it at box speed.
You can also overexpose push-processed or pull-processed film. For example, if you’re pushing Kodak Tri-X two stops to EI 1600, you can overexpose it by one stop by opening up your aperture or extending the shutter time by one stop while having your meter set to ISO 1600 (which is the same as setting your meter to ISO 800 and following its directions exactly).
¹ — Learn more about aperture progressions here and here. If you aren’t familiar with stops, read this explainer.
How is overexposure different from push-processing?
Deliberately overexposing film is not the same as pushing film.
Push processing means keeping film in development chemicals for a longer time or at a higher temperature, which increases its sensitivity to light.
Overexposure sends more light towards the emulsion. Overexposure does not require any changes in the development process.
Push-processing usually creates images that are higher in contrast with fewer shadow details, whereas overexposure adds shadow detail and often decreases the overall image contrast.
Push-processing means shooting with higher shutter speeds or smaller apertures than normal, thus letting less light onto film (which is corrected by the push-processing step itself). Overexposure means shooting with slower shutter speeds or larger apertures than normal. Overexposure is not corrected in development, although it may be corrected after the film is scanned or when it’s printed.

Why overexpose film?
Overexposure can be unintentional, and that could cause problems. But it can also be deliberate, which can produce finer grain, pastel colours, and even render more detail than a normal exposure.
Finer grain. The larger the film grain is, the more sensitive it is to light². Typical film emulsion is comprised of a range of grain sizes, which is why you may notice larger grain in the shadows and smaller grain in the highlights. Overexposing film activates smaller granules, which can give the image an appearance of finer grain.
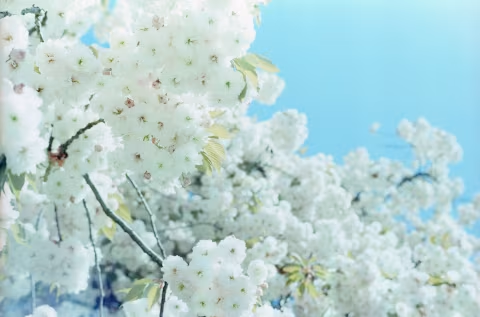
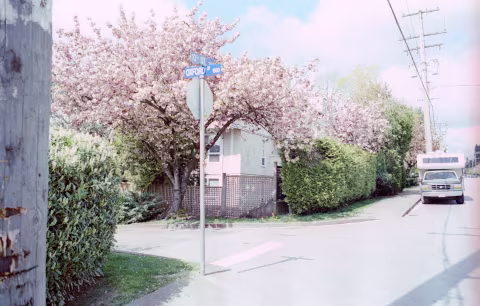
Pastel colours. Though the colours you get in your scans will mostly depend on the lighting and the subject matter, overexposure can help make certain scenes look as if they were painted with pastel pencils. The lower contrast and tint of overexposed film play into the overall painterly effect.
Partially fix colour shifts. Underexposed areas (like shadows) may appear to have a blue, green, or brown tint on various films like Kodak Ektar 100 and Kodak Vision 3 500T/CineStill 800T (depending on how they’re developed and scanned). As overexposure decreases the overall shadow area in the image, you may find that certain films will make colour correction easier. Still, it’s good to be careful as severe overexposure can yield colour shifts of its own (often towards teal or light blue), which may be very difficult or impossible to fix.
Change the palette of false-colour films. This will only work with Lomochrome Purple and Lomochrome Turquoise false-colour films (i.e., films that don’t render real-world greens as green). You may rate those films anywhere between EI 100 and EI 400 for slightly different looks.
Counter fog on expired film. Expired film degrades over the years to various degrees. Often, this means base fog, a layer of spontaneously exposed crystals (a process that happens over time), combines with the images that can decrease contrast and manifest noise in shadows. Overexposure may help counter this effect by shifting the band of used dynamic range to be denser and cutting the fog out during scanning.
“Exposing for shadows.” Negative film can generally handle overexposure better than digital cameras. Brighter light activates more silver halide crystals that create the dense (dark) areas on film. These areas end up as white or bright colours in the sans. Adding more light will make the negatives denser, but a great scanner can peer further through those dense areas to recover the details in the highlights. While not always optimal, overexposure may be correctable — that can not be said about underexposure, which is why the common advice is to expose film to more light when in doubt (one such way to do this is to point the light meter at the shadows when metering — but be careful!)
Film rating accidents. It’s easy to forget which film you have inside the camera, unless you use a tool like Film Log. When that happens, you may find your light meter set to the wrong ISO. If, for example, your meter was set to ISO 100 from the previous roll and you happened to remember that you’re shooting Kodak Gold 200 mid-roll, you can feel reasonably safe to switch your meter to ISO 200 and continue shooting as normal. This will overexpose your earlier shots by one stop once you develop the film, but as I mentioned above, that shouldn’t be a serious issue. Some photographers deliberately expose their rolls at slightly varying ratings between frames to suit their needs (for example, to get more bokeh in certain shots). Note that the choice of film and the amount of overexposure can make a big difference in terms of image quality.
No other choice. Film cameras with slower maximum shutter speeds will necessarily overexpose high-speed film in bright sunlight. For example, Kodak Portra 800 will get +5 stops of overexposure in sunlight if used with cameras like Kodak Ektar H35N, which have a fixed aperture/shutter speed of 𝒇8 and 1/100s.
² — Certain technologies, like T-Grain and Σ-grain, decrease overall grain size compared to traditional films, like Tri-X. However, those newer films still conform to the “smaller grain in the highlights” principle.