How to Make a Pinhole Camera
Easy (5min), Advanced (Day Projects), and Beyond!
20 min read by Dmitri, with image(s) by Daren.Published on . Updated on .

Homemade cameras are fun, and they come with lots of creative potential. My earlier project was the world’s first edible film camera with a working lens made of sugar. It even ended up on the national news and several popular blogs.
However, pinhole cameras can also be challenging, time-consuming, and frustrating if you haven’t planned out and researched everything relevant to the project. After all, photography is only part art — the rest is science.
This article is structured to take you through the entire process of creating a pinhole camera in several levels: from a 5-minute project to elaborate works of art and commercial products.
In this guide: Prerequisites. What is a pinhole camera? How does a pinhole camera work? Five-minute pinhole. How to calculate pinhole exposures. Building a box pinhole with instant film. Building a box pinhole with regular film. Advanced features for pinhole cameras. How I built a pumpkin pinhole and took a haunted Halloween photo with it. Beyond a pinhole: sugar lens. Paper shutter. Commercial pinhole cameras. Solarized pinhole exposures. Addendum. Support this blog & get premium features with GOLD memberships!
Prerequisites.
The simplest pinhole camera design barely needs any tools (cardboard, scissors, and a sewing needle), and you can rely on your camera’s built-in light meter to take photos with it. It doesn’t even need to be a film camera! But it has to accept interchangeable lenses.
However, if you’d like to build a box pinhole, you may need to develop your own film at home (unless you’re planning to make an instant film version).
If you’re new to film photography, consider reading or bookmarking this read: “A Beginner’s Guide to Film Photography.”
What is a pinhole camera?
A pinhole camera uses a tiny aperture to project light onto a surface — be it film, a digital sensor, or just a wall for immediate viewing — without relying on refraction.
An aperture is an opening or a hole that controls the amount of light that can enter the camera. Larger apertures let in more light, but they rely more heavily on the refractive properties of glass or plastic elements to focus the light. As the aperture gets smaller, less light can enter the camera, but it’s easier to focus. Once the aperture becomes smaller than 𝒇128 (I’ll explain what this number means later), it can function without a lens.
Pinhole cameras are a good way to learn about photography; they play a major role in creative and experimental projects.
One of the best-known societies that celebrates pinholes is the Worldwide Pinhole Photography Day.
Pinholes are also used in scientific applications (example).
How does a pinhole camera work?
Whereas a lens uses its refractive properties to collect and focus incoming light onto a small point, a pinhole is already small; thus, it does not need to bend the light. Whatever enters it ends up being projected onto the opposite side.
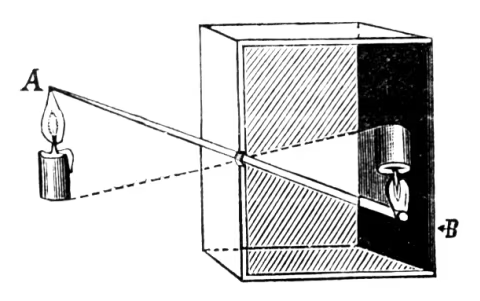
Looking directly through a pinhole is not the same thing as seeing an image projected through one.
The projection is usually a flat representation of three-dimensional space, and it forms upside-down and left-to-right as the rays of light cross (the same effect is achieved with focusing lenses).
We’ve used pinholes to build camera obscuras (rooms where we could observe the projections from the inside) for over two thousand years — many centuries before we could fix those images on film.
☝︎ Further reading: “A brief history of photography (1826-2010).”
Five-minute pinhole.
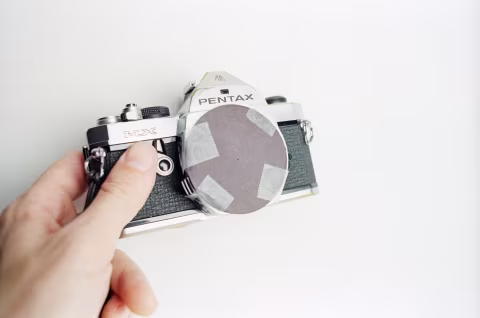
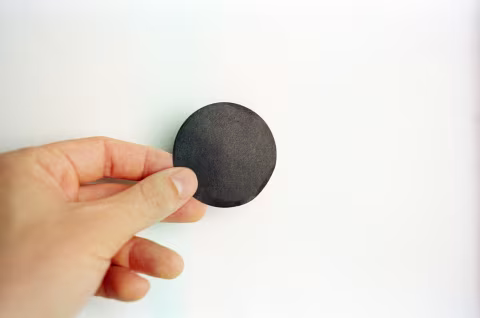
Tools. Black cardboard or any kind of art paper that doesn’t let any light through. Scissors, a sewing needle, and a camera (film or digital) that accepts interchangeable lenses. Your camera may be an SLR, DSLR, mirrorless/rangefinder, view, etc.
The idea is simple: poke a small hole in a piece of paper and cover the lens mount with it. And in that moment, that piece of paper with a tiny hole becomes your lens.
If you are using an SLR, try looking through your finder with and without the pinhole. Though very dark, a pinhole image is discernible, whereas having no lens in front of an SLR is disastrous for image quality. If you can’t see the image, try looking outside over the tree tops towards the sun — you should be able to see the shapes of the tree tops.

Your new pinhole has some advantages and disadvantages compared to a typical camera lens:
On the plus side, this is the thinnest lens possible. If portability is your objective, nothing beats a pinhole “lens.” There are also no focus controls as everything is in focus — near and far, at all times. And, of course, there’s just one aperture — although it’s possible to switch pinhole apertures if needed. A larger aperture would create a softer, brighter image; a smaller aperture would give a sharper but dimmer image.
The roundness of the pinhole and the smoothness of its edges can make images sharper. If you’d like to try the best-case scenario, you can look for laser-cut metal pinhole inserts online.
However, pinhole cameras let in very limited amounts of light; the image is always soft, and there are several artifacts, such as vignetting. Though it’s worth noting that artists or just creatively inclined photographers often enjoy the distinct imperfections in pinhole photographs.
Taking a pinhole photo. If you’re using an SLR with through-the-lens metering and autoexposure features, it will help you expose your pinhole images correctly. Keep in mind that pinholes let in a very small amount of light, expect to keep your camera steady for about one second in full sunlight (you may like to use a tripod!)
If your camera can not expose your images correctly (for example, if it doesn’t have through-the-lens metering), read the next chapter to calculate your exposures manually.
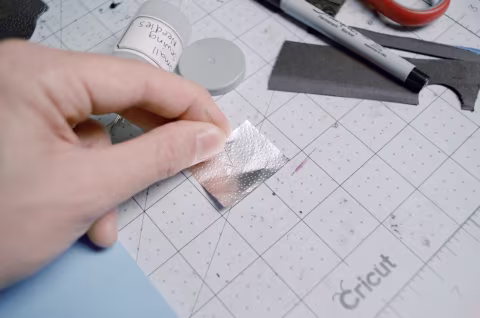
Experimenting with pinhole design. Different pinholes will make different quality images. You may try making yours out of different materials. For the next pinhole camera, we’ll make one of tin foil for a little more precision.
How to calculate pinhole exposures.
Whereas for most lenses you can use external light meters or the Sunny 16 Rule to estimate the correct exposure settings, pinholes take a little more work to get right.
Light meters typically don’t list values for pinhole-sized apertures (which typically range between 𝒇128 and 𝒇256). Plus, if you’ve made your pinhole at home, you may not know what its f-number is.
An f-number is a ratio between the focal length and the aperture size. This is a necessary bit of information you’ll need to calculate your exposure, so let’s start there.
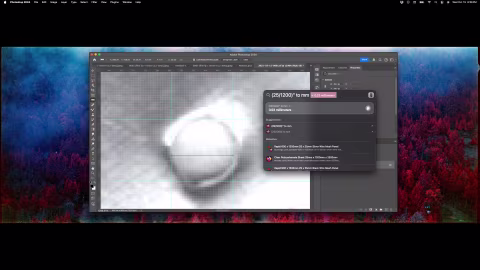
Since a pinhole is too small to measure with a ruler, the easiest way to do that at home is to place your pinhole (whether it’s a piece of cardboard or a tin foil) onto a scanner and take a note of the DPI resolution in your scanning software. Select a small area where the pinhole is located and scan it.