Making Darkroom Prints at Home With Doka Lab
All-Included for Less Than €40… You Don’t Even Need a Film Camera!
12 min read by Dmitri.Published on .
The dim red lights, hanging papers, and the rapidly appearing black-and-white images are sensations so unique and memorable that they’ve become synonymous with film photography.
Yet, few people get to experience that, as most photos are scanned and shared digitally. Most folks who remember the all-analogue days (like me) never stepped into the red light, as the process was usually handled by labs and machines.
Doka Lab aims to introduce the darkroom experience to anyone with a spare €40, a smartphone, and a bathroom — potentially making this experience more accessible than ever before. You don’t even need to shoot your photos on film (but for the purpose of this review, I did).
In this review: What is Doka Lab? Assembling Doka Lab. Selecting images. Blacking out the bathroom. Mixing chemicals. The Doka app and things to know before opening the paper pack. Making test prints. Developing, washing, and drying prints. Swapping plastic for ground glass. Trying again with Flic Film 4×5 (10) RC paper. Developing black-and-white paper in Rodinal. Results. Making more prints. Support this blog & get premium features with GOLD memberships!
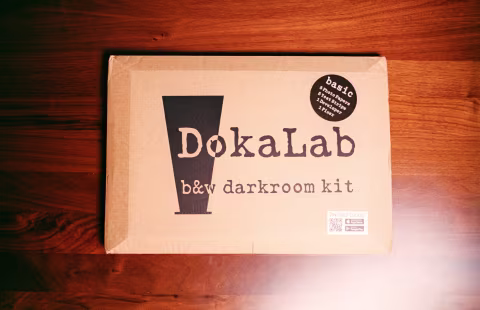
What is Doka Lab?
Doka Lab is a foldable enlarger, trays, and all¹ the accessories needed to print on paper negatives at home. The entire kit fits in a large cardboard envelope. Doka Lab is made to print images from a smartphone using the Doka app (I used the iPhone version with my crumbly iPhone Xs Max).
The entire kit is €40 on the Doka Lab website (your version of the webpage will likely use local currency). It includes five papers (the Plus version has 10 and an extra pair of safety glasses with red light).
The kit is designed for a single session, but you can order more chemicals and photo paper for €9, which includes five sheets.
¹ — You will either need to supply a tray for washing the paper (do not use a container you put food in) or rinse each sheet under running water.
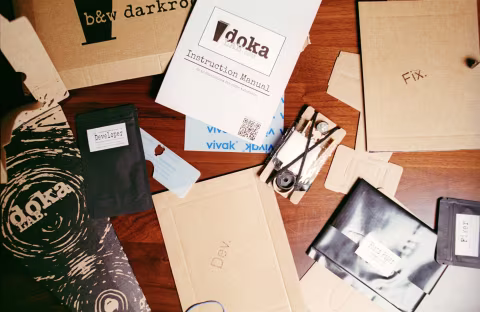
Assembling Doka Lab.
Doka Lab isn’t particularly difficult to assemble; it’s simpler than most Ikea cabinets I’ve put together over the years.
But unlike the Swedish furniture instruction paper inserts with simple graphics, Doka Lab offers a video and a 10-page illustrated booklet.
I’ve opted to use the booklet.
Unfortunately, I misread a part of the instructions that said “Peel the plastic off of the printed side of the viewing window.” Instead, I removed plastic from both sides of a clear sheet that was intended to serve as ground glass. That was a mistake — please don’t do this!
To mitigate this mini-disaster, I brushed one side of the clear plastic sheet with fine sandpaper to “fix” it². The solution worked, although the sandpaper made an imperfect surface, which may’ve affected the results.
Keep reading to learn how I upgraded this component to an actual ground glass from a large format camera.
I’ve shared my feedback with Doka Lab, who promised to address it.
² — The frosted film I peeled off the surface of a large square sheet of transparent plastic was meant to serve as a ground glass surface by scattering the projected light. Without it, the sheet is completely transparent and can’t be used for setting up the images for printing. By applying sandpaper to one side of the clear plastic sheet, I created a rough surface that approximates frosted tape or ground glass, thus making my kit functional again.
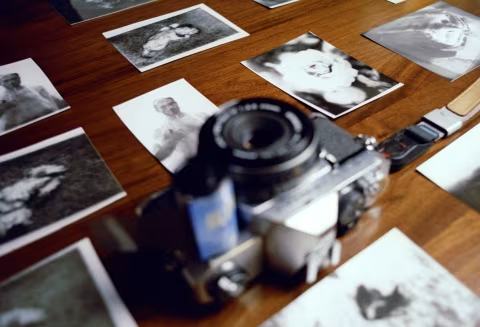
Selecting images.
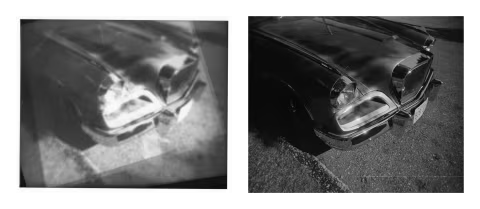
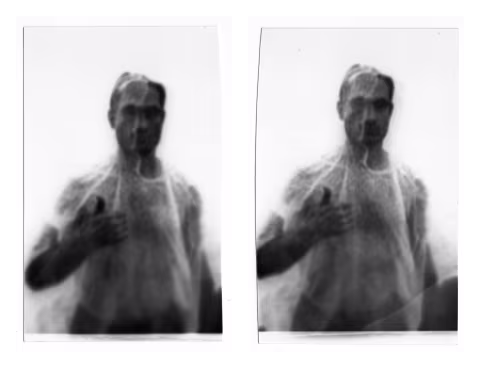
Since Doka Lab projects digital images onto photographic paper, it can print anything in black and white. I opted for what I felt was the most straightforward transfer from a black-and-white film to a digital file to a black-and-white darkroom print.
If you follow the instructions perfectly and there are no issues with your chemicals, you’ll get five well-exposed prints. However, you may want to select a larger variety, as you may discover that some types of images may work better or worse in this medium than expected.
In my case, a few of my shots appeared with light leaks. I’m not sure if it was due to another one of my mistakes (quite possible), maybe an X-Ray incident during transit, or if it was an issue with the paper — Doka Lab promised to investigate this as well.
I was happy to emerge from the dark bathroom with one print that had good exposure and subject matter. Plus a few trials and throwaways. This wasn’t enough, of course — more on that later.
Doka Lab prints are slightly larger than full Polaroid SX-70, 600, or I-Type frames, but the plastic lens included in the kit is not particularly sharp. See results for further discussion about resolution, but for now, I would like you to consider that sharpness is not very important here, as the results printed on Doka Lab will come with a unique and, in my opinion, pleasant quality and experience.
Blacking out the bathroom.
I live in a fairly dark apartment with the only window on the shady side of the street. Even then, some light appeared from under my bathroom door, so I ensured that all the lights and windows were off and closed.
The cardboard glasses that come in the kit have a tiny red LED in the middle that turns on when a small tab is removed. This tab needs to be kept safe as it’s the only way to turn off the safelight.
Once the bathroom is blacked out, the light can be turned back on to set up everything and mix the chemicals.
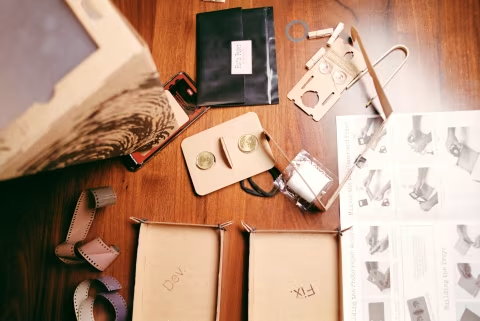
Mixing chemicals.
Mixing the chemicals is the easiest part; they come in pouches where you would carefully pour water until full and then empty the mixture into an appropriate tray.
The Doka app and things to know before opening the paper pack.
The enlarger setup is a little awkward, especially in a crammed bathroom. It essentially consists of a large cardboard trapezoid fastened to a phone with two rubber bands. This covers about half of the screen, leaving the bottom half for tappable app controls.
As a result, there will be no easy way for you to prepare your images on your phone with the cardboard attachment balancing on top of it. It’s best to import them into the Doka app in advance.
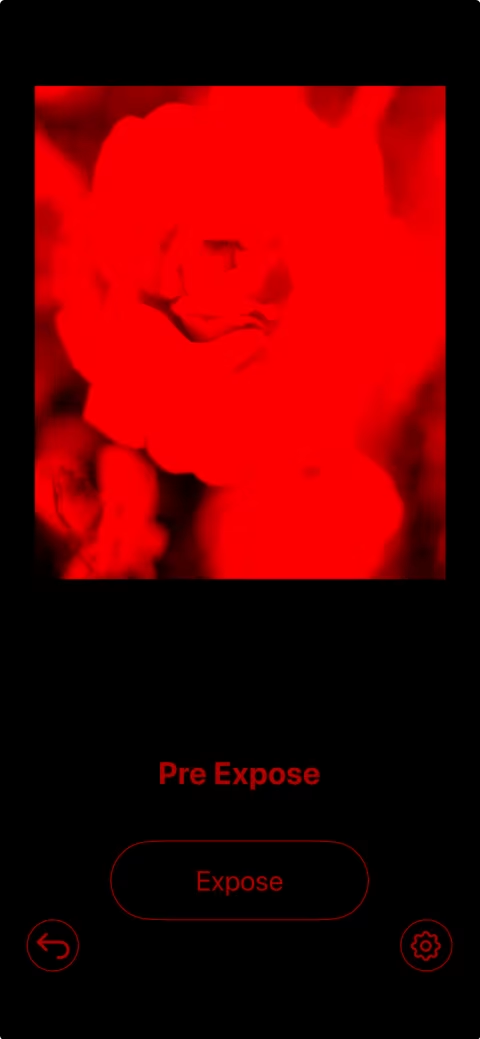
The Doka app is well-organized and easy to use. The process essentially involves selecting an image, positioning it on the ground glass using the part of your touchscreen that isn’t covered by the Doka trapezoid enlarger, then placing the paper (shiny side down) onto the ground glass, and timing your exposure, followed by subsequent fix/wash steps using the app. However, there are some things you need to know before you print:
The paper should be kept in a closed black plastic bag until the Doka app shows “Pre Expose” with an “Expose” button underneath, and there’s no light in the bathroom other than the ones coming from your phone and the right light in the Doka safety glasses. If you try to place your paper before or after the app screen I described, you may accidentally expose your paper, causing light leaks and blurry images. Also, turn off your notifications.
The app also requires that you turn off your device’s automatic brightness adjustment. Ensure that you allow the app access to your images if it is restricted on your device. Only take one sheet of paper from the bag at a time, and don’t turn on the bathroom lights until you finish developing your paper.
✪ Note: As the app advanced from one screen to the other on my iPhone, a bright white bar would appear underneath, and I observed some bright white light under the part that’s covered by the Doka trapezoid. However, these lights did not seem to affect the prints as they were either too brief or outside of the exposure area.
Making test prints.
Before exposing an entire sheet of paper, a test strip should be placed on the enlarger and exposed with a greyscale gradation to ensure that all the bands are visible for proper exposures. You may like to go through the whole process of developing and fixing, then turning on the lights (with the rest of the paper safely in the dark bag) to see how well each section shows up.
Keep in mind that longer exposures will result in darker images. Photographic paper works exactly like black-and-white negative film; in this case, the more light falls onto the surface, the darker it becomes (but since it’s a negative image that is projected onto paper, the result comes out as a positive).
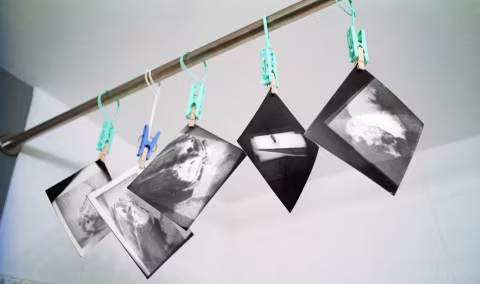
Developing, washing, and drying prints.
The development step involves placing the paper, now shiny side up, into the first tray and pushing it down with tongs to ensure that it’s fully submerged in the liquid. After a few seconds, with a bit of very careful tilting of the paper tray, the image will suddenly fade in (but the paper should remain in the developer until the timer goes off). This is the best part — but fixing is just as important. Skipping this step will destroy the image as soon as the bathroom doors are back on.
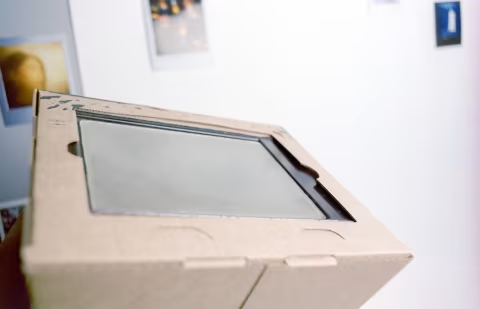
Swapping plastic for ground glass.
A piece of clear plastic with fine scratches on the side may be an OK projection plane in a pinch, but I wanted to give Doka Lab a fair test, so I’ve adapted a holder and the ground glass from my Voigtländer Avus camera for my next set of prints.
I’ve also tested it for correct position and determined that the rough side of the ground glass should be facing upwards in an assembled upright cardboard enlarger for a sharper image:
Trying again with Flic Film 4×5 (10) RC paper.
I wanted to test my new ground glass, but I was out of paper. So I drove down to my local film photography supplier, Beau Photo, which had what seemed to be the cheapest option around: ten sheets of 4×5 resin-coated paper for less than $10.
Developing black-and-white paper in Rodinal.
Black-and-white paper can be developed in film chemistry, although doing so may cause issues with contrast in some cases. My Doka paper trays were already losing their shape from the moisture, and I wasn’t sure how much more the kit could withstand, so I opted to use what I had on hand: Rodinal.