Lumen Lumination
Making Lumen Prints With Ilford Gelatin-Silver Photographic Paper
5 min read by Bob St-Cyr.Published on .
To help deter the feelings of restlessness, as the world is dealing with the pandemic, I decided to take on a creative project and share my experience along the way. This is just one out of a plethora of possible activities, particularly fun if you happen to have some gelatin-silver photographic paper laying around. I hope that this read and the activity, should you choose to try it yourself, may brighten your day!
A brief history of lumen printing.
The earliest record of the lumen process belongs to William Henry Fox Talbot at his home on Laycock Abbey in 1834 — 137km west of London.
Talbot was looking for a more precise method of rendering things found in nature when he discovered a process of coating paper with salts and silver nitrate. He saw that paper would turn dark when exposed to the light and stay white in the shadows. Talbot called his new discovery “the art of photographic drawing” (Daniel, 2004).
We continue to enjoy this process to this day by recycling old photographic paper or working with fresh sheets to produce fascinating results — all without a darkroom! (Brough, 2016).
How does lumen printing work?
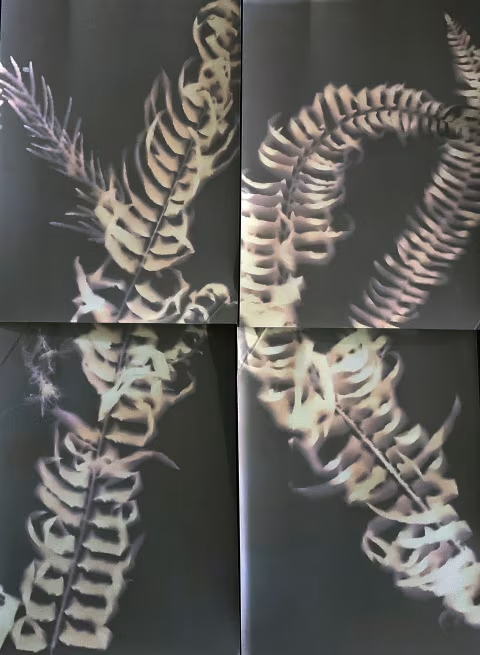
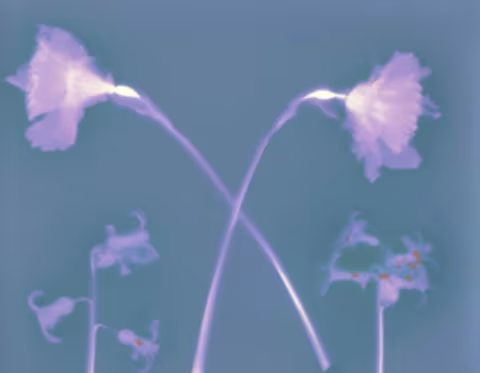
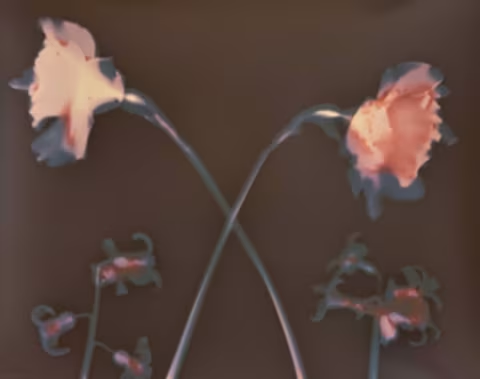
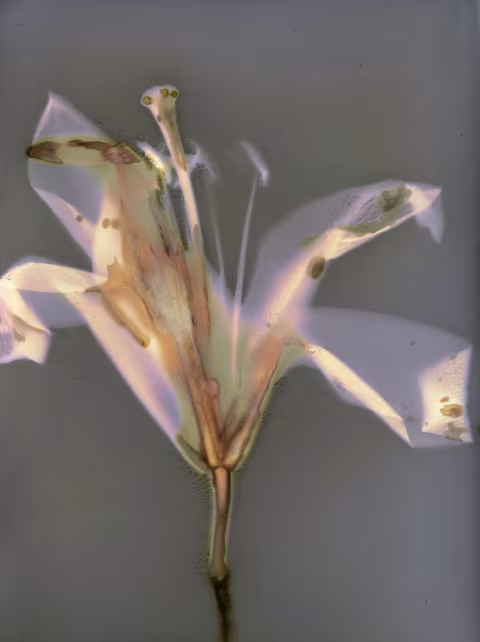
Lumen printing is an easy way to make a solar-gram with the sun as opposed to a photogram, made with an enlarger in a darkroom. It involves setting objects onto a piece of gelatin-silver photographic paper and exposing them to the sun for a specific amount of time.
To make the resulting image last, it needs to be fixed. However, fixing the chemistry will change the contrast and colour of the image; thus, you may want to scan it beforehand.
How to make a lumen print: a step-by-step guide.
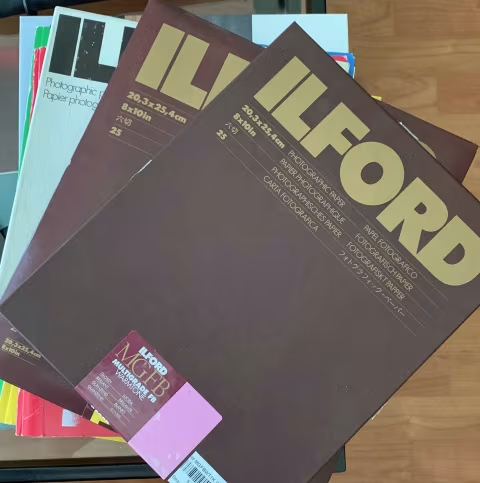
You will need photo paper, a picture frame with glass and backing, a workplace with running water, a scanner or any digital camera. Optionally, you will need a photographic fixing bath if you want to preserve the physical image permanently.
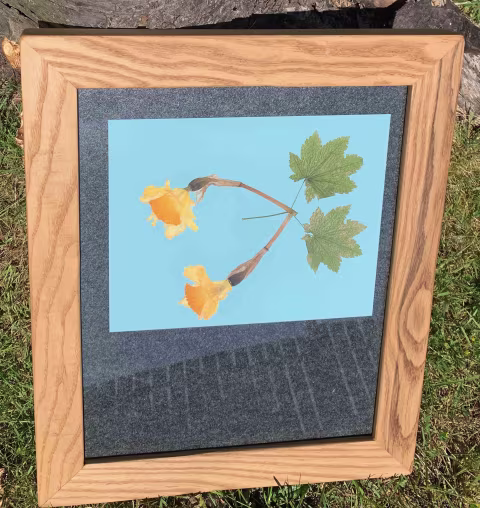
1. Find an unused photo frame and remove the backing.
2. Place small, soft organic matter on the glass from the picture frame. It could be something from the garden but feel free to be creative with delicate items that will not break the glass — please be careful.
3. Place the photo paper with the photosensitive side facing your organic matter and re-assemble the photo frame. The order is glass, material, photo paper, frame backing. This should be done in subdued light.
4. Once again being very careful not to put thick objects that will break the glass when pressed and squeeze/flatten your construction.
5. Place the picture frame in direct sunlight for about 90 minutes.
6. Carefully remove the photo paper from the frame and give it a quick rinse if it contains particles from your organic materials.
7A. If you aren’t concerned with your physical image’s permanence, this would be the last step. Place the photo paper onto your flatbed scanner or use any digital camera to “scan” it.
7B. If you want to preserve the image, place it into a photographic fixing bath for about two minutes right after washing it.
8. Thoroughly wash the print for at least ten minutes in a tray of running water. Empty and fill the tray several times during the wash.
9. Hang the print to dry.
10. To flatten the print, you might consider pressing it between heavy books for a few days. Then you can frame it for yourself or as a gift for someone special.
That’s it!
References:
Brough, D., 2016, June 26. “How to make lumen prints.”
Daniel, M., 2004, October. “William Henry Fox Talbot (1800–1877) and the Invention of Photography.” In Heilbrunn Timeline of Art History. New York: The Metropolitan Museum of Art, 2000–.